The gap is real — but not where you expect it
A backend developer posted on r/reactnative about shipping his first mobile app after 10+ years of server-side work. The reaction was 392 upvotes — strong signal from an audience that includes a lot of developers in the same position: technically experienced, mobile-naive, looking for an honest picture of what the jump actually involves.
The honest picture: mobile development is a different discipline, not a harder one. The things that trip up experienced backend and web developers aren't algorithmic complexity or unfamiliar languages — they're the ecosystem-specific mechanics that nobody tells you about until you hit them. Permissions, the App Store submission process, design consistency at the component level, testing on real hardware. Each one is learnable; none of them are obvious until you've encountered them.
What transfers from backend (and web) experience
State management and data modeling
Backend developers tend to think carefully about data models, state transitions, and side effects. That transfers directly to mobile — the mental model for managing application state in React Native is structurally similar to managing state in any service layer. If you've built complex APIs, you're already thinking in the right abstractions.
API integration
A backend developer building a mobile app front-end for their own backend has an enormous advantage: they understand exactly what the API returns, what the error states are, and how to handle edge cases. The typical frontend-backend communication friction doesn't exist when the same person built both.
Debugging discipline
Systematic debugging — isolating variables, reading logs, forming and testing hypotheses — is the same skill regardless of stack. A developer who's traced production incidents in distributed systems will find mobile debugging frustrating for different reasons, but they'll know how to approach it.
What doesn't transfer (and why)
UI/UX intuition at the component level
Backend developers often underestimate how much visual design judgment is embedded in experienced mobile developers. Not Figma skills — the instinct for what a touch target feels like at 44pt, what spacing makes a list scannable, how animation timing affects perceived responsiveness. This is accumulated through using and building mobile UIs repeatedly. There's no shortcut; you develop it by shipping, getting feedback, and iterating.
AI tools help significantly here. Describing a layout to a model and iterating on the output in Cursor or a similar environment compresses the feedback loop considerably. The developer in the thread described using AI for UI decisions throughout the project — not to generate the final design, but to rapidly test layout options he didn't have the intuition to evaluate quickly on his own.
Mobile-specific performance mental model
On the server, you optimize for throughput and latency. On mobile, the constraints are different: battery drain from background work, memory pressure from holding too much in the component tree, jank from blocking the JS thread, and scroll performance degradation from heavy renders. These are learnable, but the instinct for where to look first when something is slow is different from what a backend developer would naturally check.
React Native vs React (if coming from web)
Despite the shared name and similar syntax, React Native has meaningfully different constraints from React on the web. No browser APIs, different layout primitives (Flexbox everywhere, no CSS grid), native module bridging for device features, and a build/deploy pipeline that has nothing in common with web deployments. The developer in the thread noted he started with React web experience and found React Native "very different" — it took about three months of active development before he was comfortable. Budget time for this gap explicitly.
The App Store process is its own domain
Shipping to the App Store is not just "deploying" your app. It's a multi-step process with its own paperwork, its own failure modes, and its own review cycle that takes a day per attempt. For a backend developer used to pushing to a server and having changes live in minutes, this is a significant shift.
The specific things that catch first-timers:
App Store Connect setup
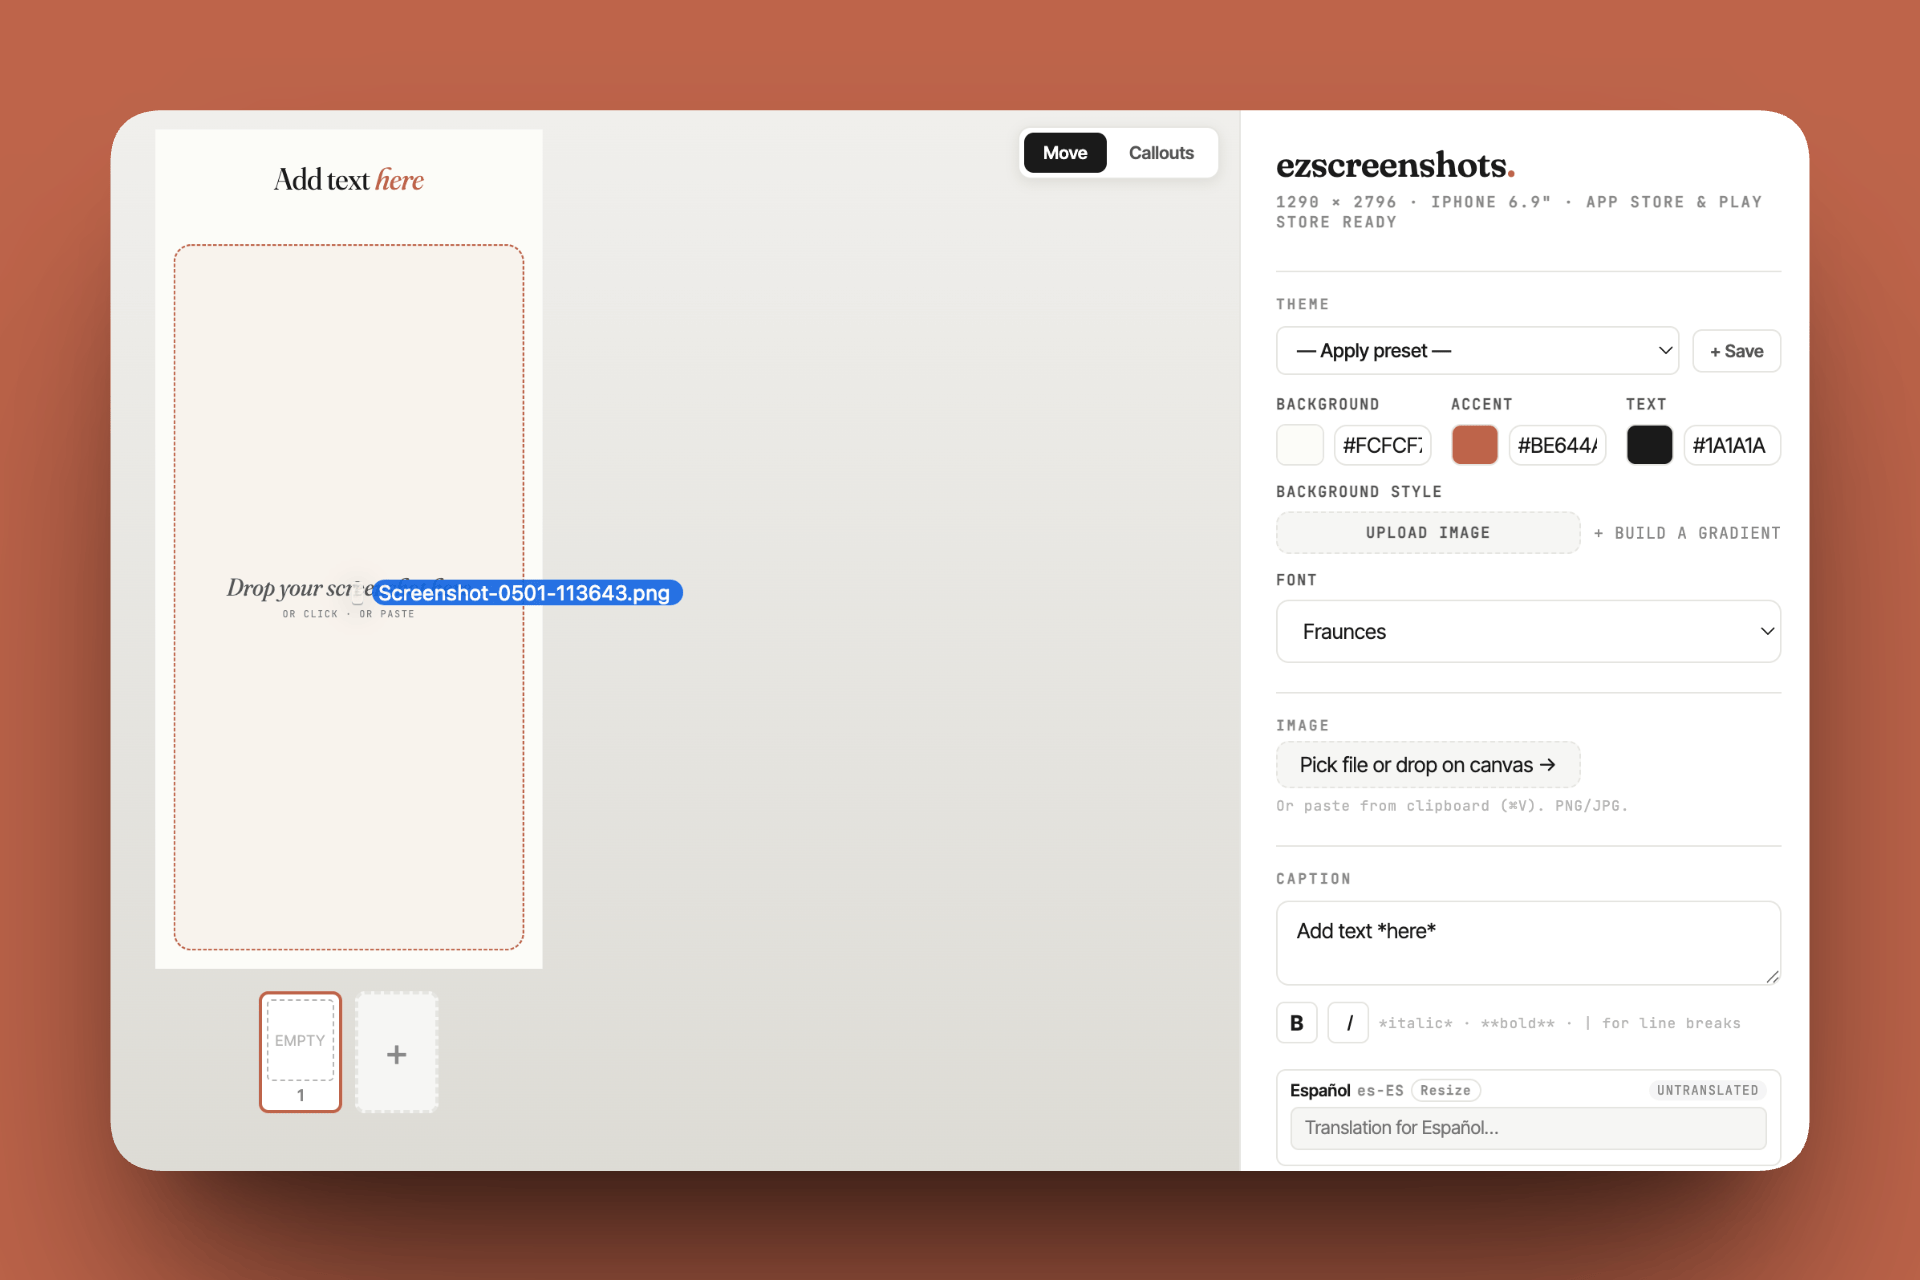
Before you can submit, you need: a complete App Store listing (name, subtitle, description, keywords, screenshots at the correct dimensions for every required device size), working banking and tax information, and a support URL that actually resolves. Missing any of these blocks submission. Most backend developers don't have a workflow for producing polished marketing screenshots — ezscreenshots exists specifically for this: drop in your Simulator captures, add captions, export at the exact dimensions Apple requires for each device size, and move on.
Provisioning profiles and certificates
iOS code signing — provisioning profiles, certificates, entitlements — has a reputation for being confusing, and it earns that reputation. The concepts make sense once you understand them, but the first time you hit a code signing error at submission, it's not obvious what's wrong or where to look. The fix is usually either an expired certificate, a mismatch between your bundle ID and your provisioning profile, or a missing entitlement for a capability your app uses. Fastlane's match tool automates certificate and profile management and is worth setting up early if you plan to submit regularly.
Permissions at request time, not install time
Mobile apps don't get access to device capabilities at install — they request permissions at runtime, when they're first needed. The system permission dialog is your one chance to explain why you need access. If the user denies it (or grants it and later revokes it in Settings), your app needs to handle that state gracefully. Backend developers sometimes build features that assume permissions are available and only discover the failure mode when a reviewer or beta tester denies the prompt.
The practical requirement from Apple: your permission request strings (NSLocationWhenInUseUsageDescription, NSCameraUsageDescription, etc.) must specifically explain what you use the data for. "Camera is needed for the app to function" is a known rejection trigger — see the full list of Apple rejection reasons for the exact pattern.
Testing on real hardware is non-negotiable
The iOS Simulator does not reproduce real-device behavior accurately for camera access, some permission flows, push notifications, certain performance characteristics, or anything related to physical sensors. The developer in this thread listed "testing on real devices is non-negotiable" as one of his top lessons. Buy a cheap used iPhone specifically for testing if your primary device is the one you're developing on — you need to be able to install and test production builds separately from your development environment.
The boilerplate question
The developer in the thread used the Ship Mobile Fast boilerplate for React Native, which he credited with saving significant time. The honest assessment of boilerplates for first-time mobile developers: they solve the bootstrapping problem (auth flows, navigation structure, payment integration, build configuration) but add an abstraction layer you need to understand before you can debug effectively.
For a developer who's shipping one app and wants to move fast, a well-maintained boilerplate is probably the right call. For a developer who plans to ship many apps and wants to build deep platform knowledge, starting closer to the metal pays dividends over time. Both approaches are valid — the key is understanding the tradeoff before choosing.
The practical timeline
For a developer with web/backend experience using React Native with a boilerplate:
| Stage | Realistic timeframe | What takes the time |
|---|---|---|
| RN fundamentals | 2–4 weeks | Layout model, navigation, native module patterns |
| Core feature build | 4–12 weeks | Depends heavily on scope; refactors as mobile instincts develop |
| Polish pass | 1–3 weeks | Animation, edge case handling, visual consistency |
| App Store prep | 3–5 days | Code signing, listing copy, screenshots, review notes |
| First review cycle | 1–5 days | Review time + likely 1–2 rejection rounds on first app |
What to prioritize as a first-timer
- Ship something small first. The developer in the thread jumped straight into a complex app. In retrospect, shipping something small first — even a utility with one feature — would have given him the App Store submission experience and the platform instincts before the stakes were high.
- Test on device from week one. Don't save real-device testing for the end. Run your builds on hardware throughout development so you discover device-specific issues incrementally rather than all at once before submission.
- Spend time on the listing before you submit. Your screenshots and your first line of description are your primary conversion tools. Most first-time developers treat these as an afterthought and submit whatever they have — then wonder why downloads are low. Invest a day in the listing. Use ezscreenshots to produce correct-dimension screenshots with benefit-focused captions before your first submission.
- Read the full App Store Review Guidelines once. Not to memorize — to build familiarity so rejection messages make sense when you get them. The guidelines are dense but scannable. One read-through pays for itself on your first rejection.
Don't let screenshots be the last thing you figure out
First-time App Store submissions often stall on the listing — wrong dimensions, missing device sizes, unclear captions. Drop in your Simulator screenshots, pick your device preset, add a benefit-focused caption, export. It takes 15 minutes. Free, no account needed.
Try ezscreenshots →Summary
- What transfers: state management instincts, API integration, systematic debugging — these are the same discipline on mobile
- What doesn't: UI/UX judgment at the component level, mobile performance mental model, React vs React Native gap — expect 2–3 months before these feel natural
- App Store as a domain: code signing, permission strings, real-device testing, review cycles — each requires learning that has nothing to do with your feature code
- Boilerplates accelerate the first app but add an abstraction layer; worth understanding before you're debugging in the dark
- Screenshots and listing are where first-time developers consistently underinvest — correct dimensions and clear captions are the minimum bar
- Ship small first if you haven't been through an App Store submission cycle — the process itself is a skill with a learning curve