The preview problem
A developer posted a tool to r/iOSProgramming: a browser-based preview showing how an app looks in App Store search results before submission. It hit 338 upvotes. The top comment: "Apple should definitely have this feature." That reaction — strong consensus that a basic preview tool shouldn't have to be built by a third party — reflects a real gap in the developer workflow.
App Store Connect lets you upload and arrange screenshots. It does not show you what those screenshots look like in an actual search result at actual size, cropped the way the App Store renders them. You find out after you submit, when it's already live. By then, fixing it means a new build, another round of review, and another 24 hours of waiting.
Understanding how the search result crop works — and designing your first screenshot for it — closes this gap without needing any tool at all.
What the App Store search result actually shows
When a user searches on the App Store, each result card shows:
- Your app icon (small, left side)
- Your app name and subtitle (one line each)
- Your rating and download count (if you have them)
- A cropped preview of your first three screenshots, displayed as a horizontal strip
The screenshots in this strip are shown at roughly 40–45% of their full height. For a standard iPhone 6.9" screenshot (1320×2868px per Apple's specifications), the search result crops to approximately the top third of the image. The bottom two-thirds — where many developers put supporting text, feature details, or decorative elements — is hidden unless the user taps through.
This means the visible portion of your first screenshot in search is roughly a 1320×950px strip. Everything that matters for converting a tap must be in that strip.
What converts in the search result crop
A clear benefit caption in the top third
The most common mistake: placing your caption or headline in the middle or bottom of the screenshot, where it's hidden in search results. The caption on your first screenshot — "Log a set in 3 taps", "Never forget a bill again", "Build a habit in 30 seconds" — needs to sit in the top 40% of the image to be visible in the search crop.
This is counterintuitive. When you look at your full screenshot, centered text looks better. But you're not designing for how it looks at full size in App Store Connect — you're designing for how the top third reads in a 40pt-tall strip next to a competitor's listing.
High contrast, large type
Search result screenshots render at roughly the width of a phone screen divided by three (one column of three results visible at a time on most devices). At that size, text smaller than ~36–40pt in the original export becomes illegible. A dark caption on a light background, or white text on a dark background, remains readable. Subtle pastel-on-pastel combinations that look elegant at full size become noise at search result size.
No wasted space in the crop zone
If your screenshot has a large device frame with a lot of padding above the screen content, the visible crop in search shows mostly frame and background rather than app UI or caption. Keep the useful content — caption and the most visually interesting part of your UI — high in the frame so it survives the crop.
How to preview before you submit
Method 1: The manual preview on your own device
The fastest check: export your first screenshot at full resolution, airdrop it to your iPhone, open it in Photos, and pinch-zoom to approximately 33% width. This simulates roughly how it will look in a search result column. It's imprecise but catches obvious problems — text that's too small, captions placed too low, color contrast that breaks at small size.
Method 2: Browser-based preview tools
Several free tools simulate the App Store search result layout. App Store Tester by AnthoPak lets you upload your screenshot and see a live render of how it appears in a search result card. All processing is client-side — your screenshot doesn't leave your device. The tool is a side project and may not always reflect the latest App Store layout, but it gives a close-enough approximation to catch design mistakes before submission.
Method 3: Design the screenshot with the crop in mind from the start
The most reliable approach is to treat the top ~40% of your screenshot canvas as the "search zone" — the region that must work as a standalone image even if nothing below it is visible. Place your primary caption and your most visually arresting UI element in this zone. Everything below is secondary context for users who tap through to your full listing.
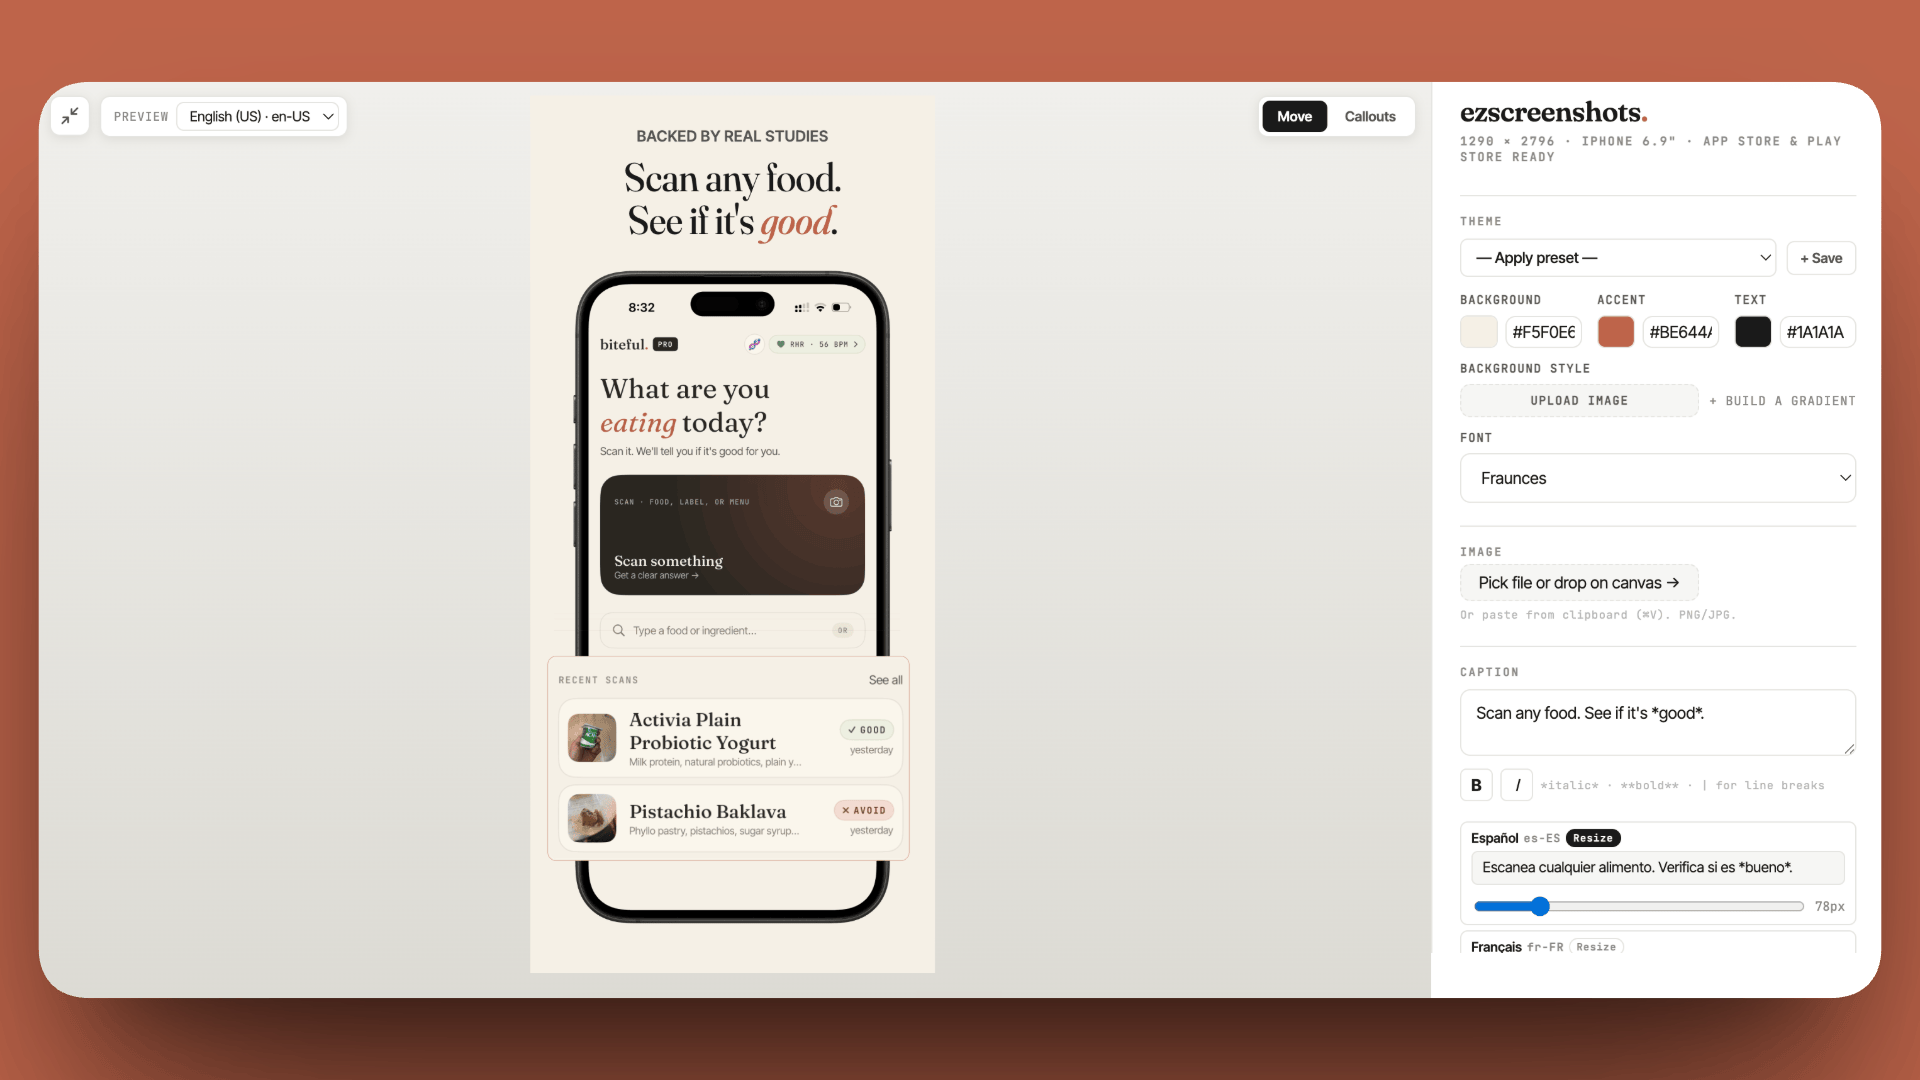
ezscreenshots renders your caption at the top of the canvas by default, which naturally positions it in the search-visible zone. Drop in your Simulator screenshot, type your benefit caption, and the layout places it where it will survive the search crop. Export, then do the pinch-zoom check on device before submitting.
The three-screenshot strip: screenshots 2 and 3
The search result shows up to three screenshots in the horizontal strip. Screenshots 2 and 3 are visible at the same cropped size as screenshot 1. This means they also need to work independently at small size — not as a sequential narrative that only makes sense after seeing screenshot 1.
Each of the three visible screenshots should be able to function as a standalone argument for why someone would download the app:
- Screenshot 1: primary value proposition ("what it does")
- Screenshot 2: supporting proof or key feature ("how it does it")
- Screenshot 3: social proof, a specific use case, or a differentiator
Screenshots 4–10 are only seen by users who tap through and scroll — they matter for conversion rate after the tap, not for generating the tap in the first place. See the guide on App Store screenshot A/B testing for how to measure which screenshot order converts best once your app has traffic.
Checking your search result after going live
Once your app is live, the fastest way to check your actual search result appearance is to search for your app name (or a target keyword) on a physical device. What you see is exactly what users see. Do this check from a device that isn't logged into your developer account — the App Store sometimes shows a different layout to the account that owns the app.
Also check on both iPhone and iPad if your app supports both. The search result layout differs slightly between form factors, and a screenshot that crops well on iPhone may crop awkwardly on iPad's wider search result columns.
Design your first screenshot for the search crop
Caption at the top, high contrast, large type. Drop in your Simulator screenshot, position your benefit caption in the search-visible zone, export at the right dimensions. Free, no account needed.
Try ezscreenshots →Summary
- App Store search shows roughly the top 40% of your first screenshot — anything below that is hidden until the user taps through
- Place your primary caption in the top third of the screenshot canvas so it's visible in search results
- High contrast and large type (≥36pt in original export) are required at search result size — subtle color combinations break at small size
- Preview before submitting: AirDrop to device and pinch-zoom, or use a browser tool like App Store Tester
- Screenshots 2 and 3 are also visible in search — each should work as a standalone argument, not a sequential slide
- After going live: search your app name on a physical device (not signed into your dev account) to see the actual user-facing result