Why RevenueCat instead of raw StoreKit
Apple's StoreKit framework gives you direct access to the App Store's purchase infrastructure, but it doesn't solve the hard parts: server-side receipt validation, cross-device entitlement state, webhook delivery for subscription events, analytics on trial conversions and churn. RevenueCat handles all of that — it's a thin SDK on the client and a backend that stays synced with Apple's servers.
The other reason to use RevenueCat: the Paywalls feature. Rather than building a custom UIKit or SwiftUI paywall from scratch (and rebuilding it every time you want to run a pricing experiment), RevenueCat lets you design, iterate, and A/B test your paywall UI from the dashboard without a code deploy. For a solo developer, this is the single biggest time saving.
RevenueCat's SDK is free up to $2,500 monthly tracked revenue, then 1% of revenue above that. For most indie apps, the cost is zero until you're well into paying customers.
Step 1: Create products in App Store Connect
Before touching RevenueCat, your subscription products need to exist in App Store Connect. RevenueCat fetches product metadata from Apple — it can't invent products that don't exist there first.
In App Store Connect, navigate to your app → Monetization → Subscriptions. Create a subscription group (e.g. "Pro Access"), then add the individual products:
- Give each product an ID you'll reference in code: e.g.
com.yourapp.pro_monthly,com.yourapp.pro_annual - Set the pricing for each territory
- Add a localized display name and description (shown on the paywall)
- Set a free trial if you want one (7 days is the common default)
Note: products won't be purchasable until your banking information is on file in App Store Connect and your app has been submitted at least once (even to TestFlight). For sandbox testing, this restriction doesn't apply.
Step 2: Install the RevenueCat SDK
The RevenueCat iOS SDK (called purchases-ios) installs via Swift Package Manager:
- In Xcode: File → Add Package Dependencies
- Enter:
https://github.com/RevenueCat/purchases-ios-spm - Set the version rule to "Up to Next Major" from the current release
- Add both RevenueCat and RevenueCatUI to your app target — RevenueCatUI contains the Paywalls components
If you're in a Flutter project, the package is purchases_flutter on pub.dev — the concepts are identical but the API surface is slightly different. See our post on Flutter subscriptions with RevenueCat for the Flutter-specific flow.
Step 3: Configure the SDK
Initialize RevenueCat once at app startup — in your @main App struct or AppDelegate:
import RevenueCat

@main
struct MyApp: App {
    init() {
        Purchases.configure(withAPIKey: "appl_xxxxxxxxxxxxxxxx")
    }

    var body: some Scene {
        WindowGroup {
            ContentView()
        }
    }
}
The API key is in your RevenueCat dashboard under Project Settings → API Keys. Use the iOS Public SDK key (starts with appl_). Never use the secret key in client code.
Purchases.shared.logIn(yourUserId) after the user authenticates — this links purchases to your user ID and enables cross-device entitlement syncing.
Step 4: Create an Offering in the RevenueCat dashboard
RevenueCat's Offerings are the configuration layer that maps your App Store products to what gets displayed on your paywall. This separation is what enables you to change pricing, add a product, or run an experiment without a code deploy.
In the RevenueCat dashboard:
- Go to your project → Products. Add each product by entering its App Store product ID exactly as you created it in App Store Connect.
- Go to Monetization → Offerings → Create a new Offering. Name it
default(the SDK fetches the current offering by this identifier by default). - Inside the offering, create a Package for each purchase option: a Monthly package containing
pro_monthly, an Annual package containingpro_annual. RevenueCat uses standard package identifiers ($rc_monthly,$rc_annual) that the Paywalls builder understands automatically.
Step 5: Build your paywall with RevenueCat Paywalls
RevenueCat Paywalls is a no-code UI builder for your paywall screen. You design it in the dashboard — layout, colors, headline copy, CTA text — and the SDK renders it natively in your app. To add it:
import RevenueCatUI
import RevenueCat

struct UpgradeView: View {
    @State private var isPresentingPaywall = false

    var body: some View {
        Button("Upgrade to Pro") {
            isPresentingPaywall = true
        }
        .presentPaywallIfNeeded(
            requiredEntitlementIdentifier: "pro",
            purchaseCompleted: { customerInfo in
                print("Purchase completed:", customerInfo.entitlements)
            },
            restoreCompleted: { customerInfo in
                // handle restore
            }
        )
    }
}
The presentPaywallIfNeeded modifier checks whether the user already has the entitlement — if they do, it does nothing; if they don't, it presents the paywall. The UI it renders is pulled from your RevenueCat dashboard configuration. No layout code required in your app.
Alternatively, if you want full control over when the paywall appears (e.g. as a full-screen modal rather than a conditional overlay), use PaywallView() directly as a SwiftUI view inside a sheet or fullScreenCover.
Step 6: Check entitlements to gate features
After a purchase, RevenueCat's SDK updates the customer's entitlements. Gate features by checking them — don't store a local boolean. RevenueCat's backend stays in sync with Apple's subscription state, so a canceled subscription will automatically reflect as inactive even without the user doing anything in your app.
func checkProAccess() async -> Bool {
    do {
        let customerInfo = try await Purchases.shared.customerInfo()
        return customerInfo.entitlements["pro"]?.isActive == true
    } catch {
        return false
    }
}
For more on managing subscription state across sessions — including handling grace periods, billing retry, and the customerInfo update flow — see our post on RevenueCat restore purchases and subscription state.
Step 7: Placement — where and when to show the paywall
When you show the paywall matters as much as what's on it. Three patterns that convert well:
On feature gate
The user taps a pro feature — export, a premium widget, unlocking a higher limit — and the paywall appears immediately after that action. This is the highest-converting placement because the user just demonstrated intent: they wanted something and hit a wall. The paywall shows at the moment motivation is highest.
On a natural completion moment
After the user completes a meaningful action for the first time — finishes setting up a project, logs their first entry, completes onboarding — you have a brief window where they feel good about the app. Showing the paywall at this moment, with a value summary ("you've done X, unlock Y to get Z"), converts better than showing it on launch.
On a usage milestone
After the user has used the app N times (e.g. 5 sessions, or used the free feature 3 times), show a soft prompt: "You've been using [App] for a week — here's what Pro unlocks." This pattern respects the user's trial period and converts users who have experienced the core value loop.
What not to do
Avoid showing the paywall more than once per session after a dismiss. Repeated paywalls train users to dismiss without reading. One impression per session on dismissal; let the user discover the paywall again naturally when they hit a gate.
Step 8: Test in the StoreKit sandbox
All purchase testing happens in Apple's sandbox environment before production. Set up a sandbox tester in App Store Connect:
- App Store Connect → Users and Access → Sandbox → Testers
- Add a tester with a new email address (it doesn't need to be a real inbox)
- On your physical device (sandbox doesn't work in Simulator), sign out of your personal Apple ID in Settings → App Store
- Run your app. When prompted for an Apple ID during purchase, sign in with the sandbox tester account
Sandbox subscriptions renew on a compressed schedule: a monthly subscription renews every 5 minutes, an annual every 1 hour. This lets you test renewal, expiration, and billing retry flows quickly. RevenueCat's dashboard shows sandbox transactions in real time — you can watch entitlement state update as test renewals fire.
.storekit configuration file in your project and set it as the StoreKit Configuration in your scheme's Run settings. This is the fastest way to iterate on paywall logic.
What the paywall drives traffic to
Your paywall converts users who are already in your app. But the users who reach your paywall are users who installed your app — and install rates are driven by your App Store listing. A well-implemented paywall with a weak App Store listing means you're leaving conversions on the table at the top of the funnel.
The screenshot set is the highest-leverage part of your App Store listing for driving installs: it's what users see in search results before they tap through. ezscreenshots makes it fast to create a consistent, polished screenshot set — drop in your Simulator exports, add outcome-focused captions, export at the correct dimensions for every device size. The same users your paywall converts are the users your screenshots need to attract first.
For the App Store listing side — dimensions, caption placement, device frames — see the App Store screenshot template guide.
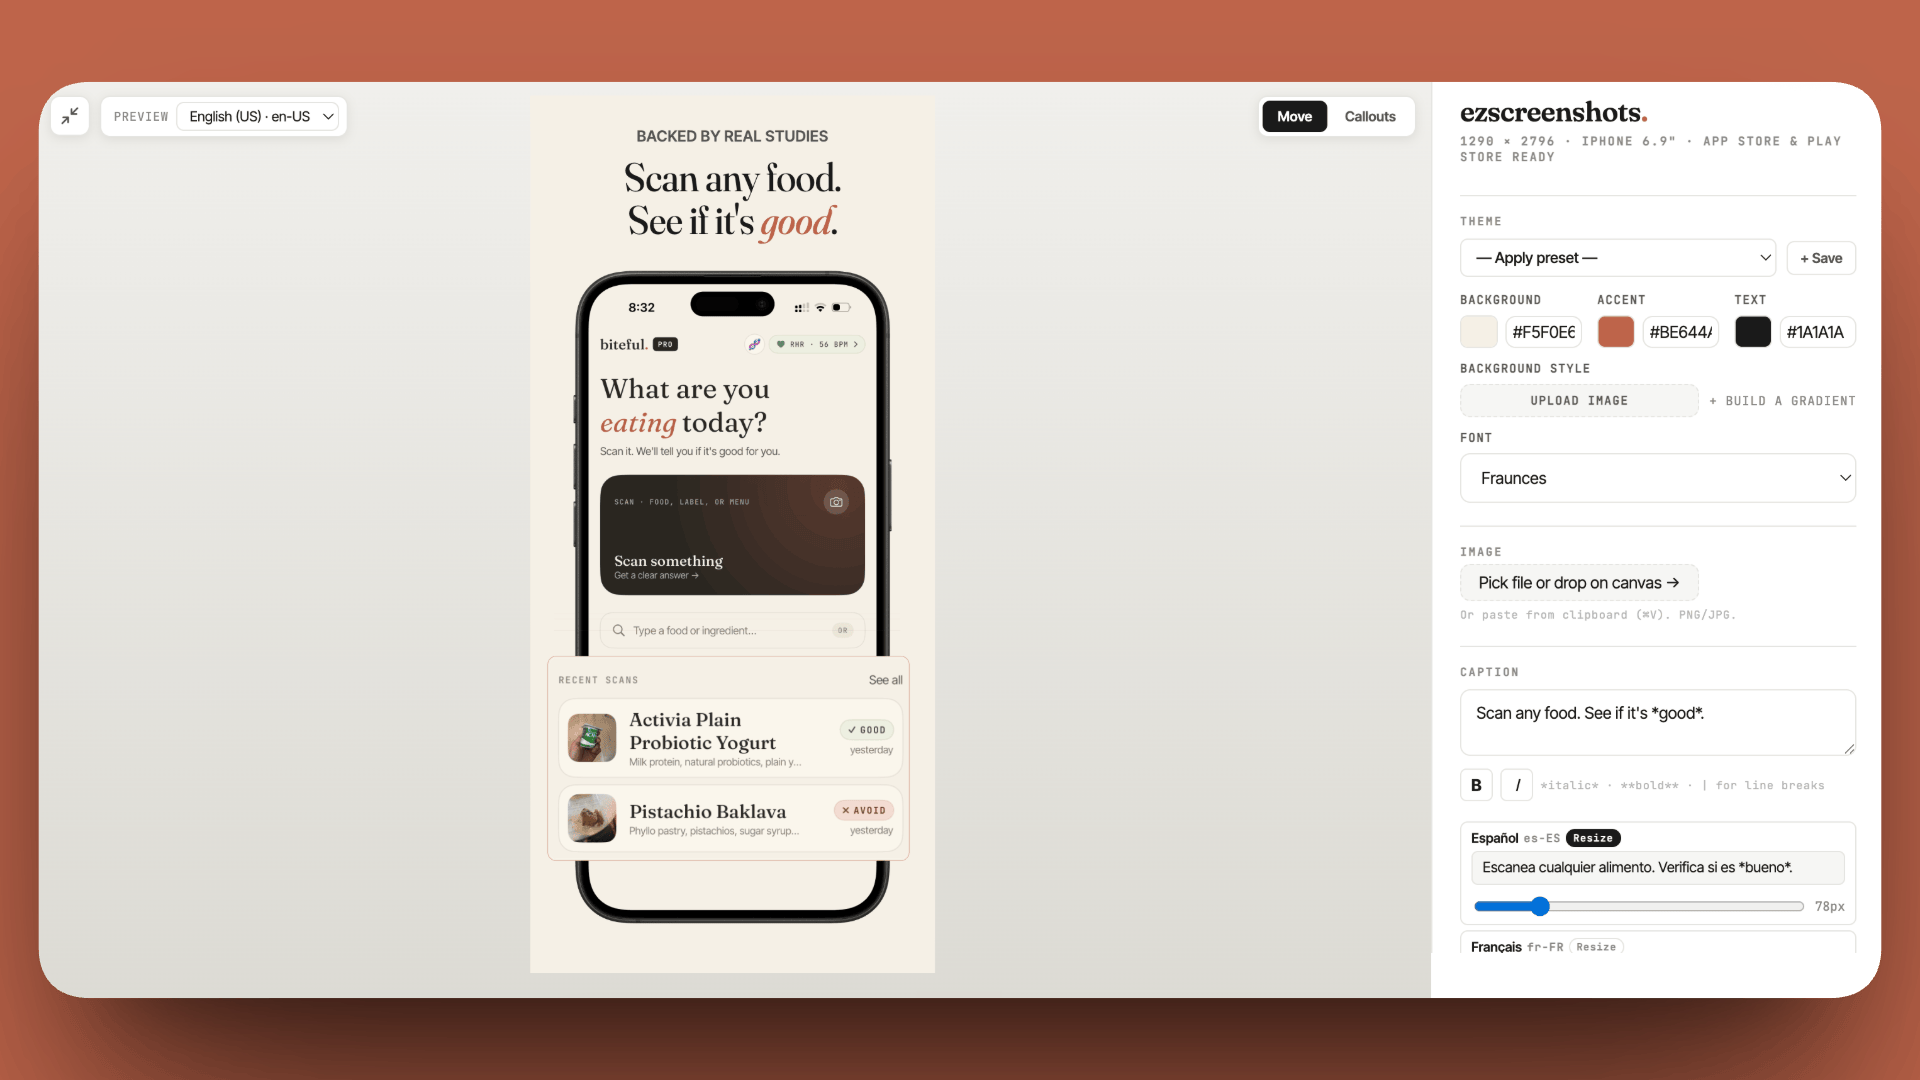
Screenshots that convert the traffic your paywall depends on
A working RevenueCat paywall only converts users who install first. ezscreenshots makes it fast to create the screenshot set that drives those installs — drop in your Simulator exports, add outcome-focused captions, export at the right dimensions. Free, no account needed.
Try ezscreenshots →Summary
- Create products in App Store Connect first — RevenueCat reads product metadata from Apple; products must exist there before you can configure them in RC
- Install both
RevenueCatandRevenueCatUIvia Swift Package Manager — RevenueCatUI contains the Paywalls components - Configure once at app startup with your iOS Public SDK key; call
logIn()if you have your own user accounts - Create an Offering in the RC dashboard with packages for each product — this enables dashboard-driven paywall changes without code deploys
- Use
presentPaywallIfNeededorPaywallView()from RevenueCatUI — the paywall UI is rendered from your dashboard configuration - Gate features by checking
customerInfo.entitlements— don't store a local boolean; RC stays in sync with Apple's subscription state automatically - Best placement: on feature gate (highest intent), after first meaningful action, or on a usage milestone — not on first launch
- Test with sandbox testers from App Store Connect; sandbox subscriptions renew on a compressed schedule (monthly = 5 min)
- RevenueCat is free up to $2,500 MRR, then 1% above that