What an App Preview actually is
An App Preview is a 15–30 second video that Apple allows you to upload alongside your screenshots. It appears as the first item in your screenshot gallery and autoplays silently in search results when a user pauses on your listing. On the app's product page, it plays with audio if the user's device isn't muted.
This placement — autoplay in search, before any tap — is what makes App Preview disproportionately valuable. Screenshots require a user to actively look; a video plays whether they choose to engage or not. If the first three seconds show the core value clearly, you've communicated something a screenshot can't: the product works, right now, for something the user recognizes.
The conversion lift from a well-made App Preview over screenshots alone is consistently positive across app categories. It's one of the few listing elements where the data is clear enough that the question isn't "does it help?" but "how do I make one that helps?"
What Apple requires
Apple's App Preview specifications are specific:
| Device | Required resolution | Aspect ratio |
|---|---|---|
| iPhone 6.9" (16 Pro Max) | 886×1920 or 1320×2868 | 9:19.5 |
| iPhone 6.5" (14 Plus, 11 Pro Max) | 886×1920 or 1242×2688 | 9:19.5 |
| iPhone 5.5" (8 Plus) | 1080×1920 | 9:16 |
| iPad Pro 13" | 1200×1600 or 2048×2732 | 3:4 |
Additional requirements:
- Duration: 15–30 seconds exactly — Apple rejects videos outside this range
- Format: .mov, .m4v, or .mp4; H.264 or HEVC encoding
- Content: must show only footage captured on a device or Simulator running the actual app — no screen recordings of a different device's UI, no animations that aren't in the real app
- No misleading content: the App Preview is held to the same "accurately represents the user experience" standard as screenshots — Apple will reject previews that show features not in the current version
- Up to three App Previews per device size; the first one displays in search results
The raw recording beats the polished promo every time
The instinct when making a marketing video is to produce it: add music, voiceover, transition animations, text overlays, a professional intro card. For App Preview, this instinct produces worse results.
The reason is what App Preview is communicating. A user watching an App Preview is asking one question: "Does this actually do what it claims?" A raw, unedited screen recording of a real use case answers that question with direct evidence. A produced promo video with stock music and transition animations looks like every other promo video — it triggers the mental filter users apply to marketing, not the evaluative mode they apply to evidence.
A developer who went from zero to five paying customers in a week noted exactly this in a discussion about their demo video: "An unedited 30-second recording of the product doing the thing it claims to do produced paying customers. Polished demos with voiceovers got nothing." The same principle applies to App Preview. See the full breakdown in our post on getting your first paying users.
Practical implication: your App Preview doesn't need editing software. It needs Simulator and QuickTime (or Xcode's built-in screen recording).
How to record an App Preview in Simulator (20-minute process)
Step 1: Plan the flow (5 minutes)
Decide what to show. The goal is: user opens app → accomplishes the core valuable thing → sees the result. For a habit tracker: open app → log a habit → see the streak update. For a budget app: open app → add a transaction → see the balance update. One complete, satisfying loop. No feature tour. No onboarding screens. No settings menus.
If your core loop takes longer than 20 seconds to complete, trim it. Skip animations, pre-populate data so you don't spend time on setup, and navigate directly to the interesting part.
Step 2: Set up Simulator (2 minutes)
Open Xcode → Simulator. Choose the device size matching your target preview resolution (iPhone 16 Pro Max for the 6.9" preview). Go to File → Record Screen (or use ⌘R in newer Xcode versions). Make sure your app has realistic-looking demo data — a tracker with 0 entries looks unfinished; one with a 14-day streak looks compelling.
Step 3: Record (2–3 takes)
Record yourself completing the core flow naturally. Don't rush — slow, deliberate taps read as confident; frantic taps read as confused. Do 2–3 takes and keep the one where the timing feels natural. Aim for 20–25 seconds so you have room to trim.
Step 4: Trim (5 minutes)
Open the recording in QuickTime Player → Edit → Trim. Cut the beginning (before the app opens) and the end (after the result is visible). You want to start with the app already on screen and end on the "aha moment" — the point where the value is obvious. Export at the original resolution.
Step 5: Upload (5 minutes)
In App Store Connect, go to your app → App Store tab → scroll to the screenshot section. Drag the video file into the App Preview slot for the appropriate device size. Apple processes the video (5–10 minutes) and shows you a preview before you submit.
What to show in 20 seconds
The most effective App Previews follow a simple structure:
- Seconds 0–3: the core UI with real content — not a splash screen, not an empty state. Users need to recognize immediately that this is a real, working app.
- Seconds 3–15: the primary user action — the thing that delivers the core value. Log the habit. Add the expense. Send the message. Do the thing.
- Seconds 15–25: the result — the state change that makes the value tangible. The streak increments. The balance updates. The task is checked off. End here.
What not to show: the App Store listing itself, onboarding screens, permission prompts, loading states, or settings. These are not evidence of value — they're evidence of setup friction.
When App Preview doesn't help (and you should skip it)
App Preview isn't universally beneficial. Two cases where it's unlikely to move conversion:
Apps with no visible UI value. If your app's core value is invisible in a screen recording — a background noise monitor, a file sync utility, a push notification tester — a video of the UI doesn't communicate the value and may actually confuse viewers. In this case, a strong first screenshot with a clear outcome caption does more work than a video of tapping through menus.
Games with complex or slow onboarding. Game App Previews work well for casual games with immediate visual appeal. For games where the interesting parts take 10 minutes of play to reach, a 20-second preview showing early gameplay may undersell the actual experience. Many successful game App Previews show gameplay from later stages, not the tutorial — check whether that approach fits your game.
App Preview vs screenshots: which to fix first
If you have neither good screenshots nor an App Preview, fix the screenshots first. Screenshots are visible in more contexts — search results, app page, featured lists — and a static image is faster to iterate on than a video. Once your screenshot conversion rate is healthy (above 20% on branded search traffic in App Store Connect), add an App Preview as the next incremental lift.
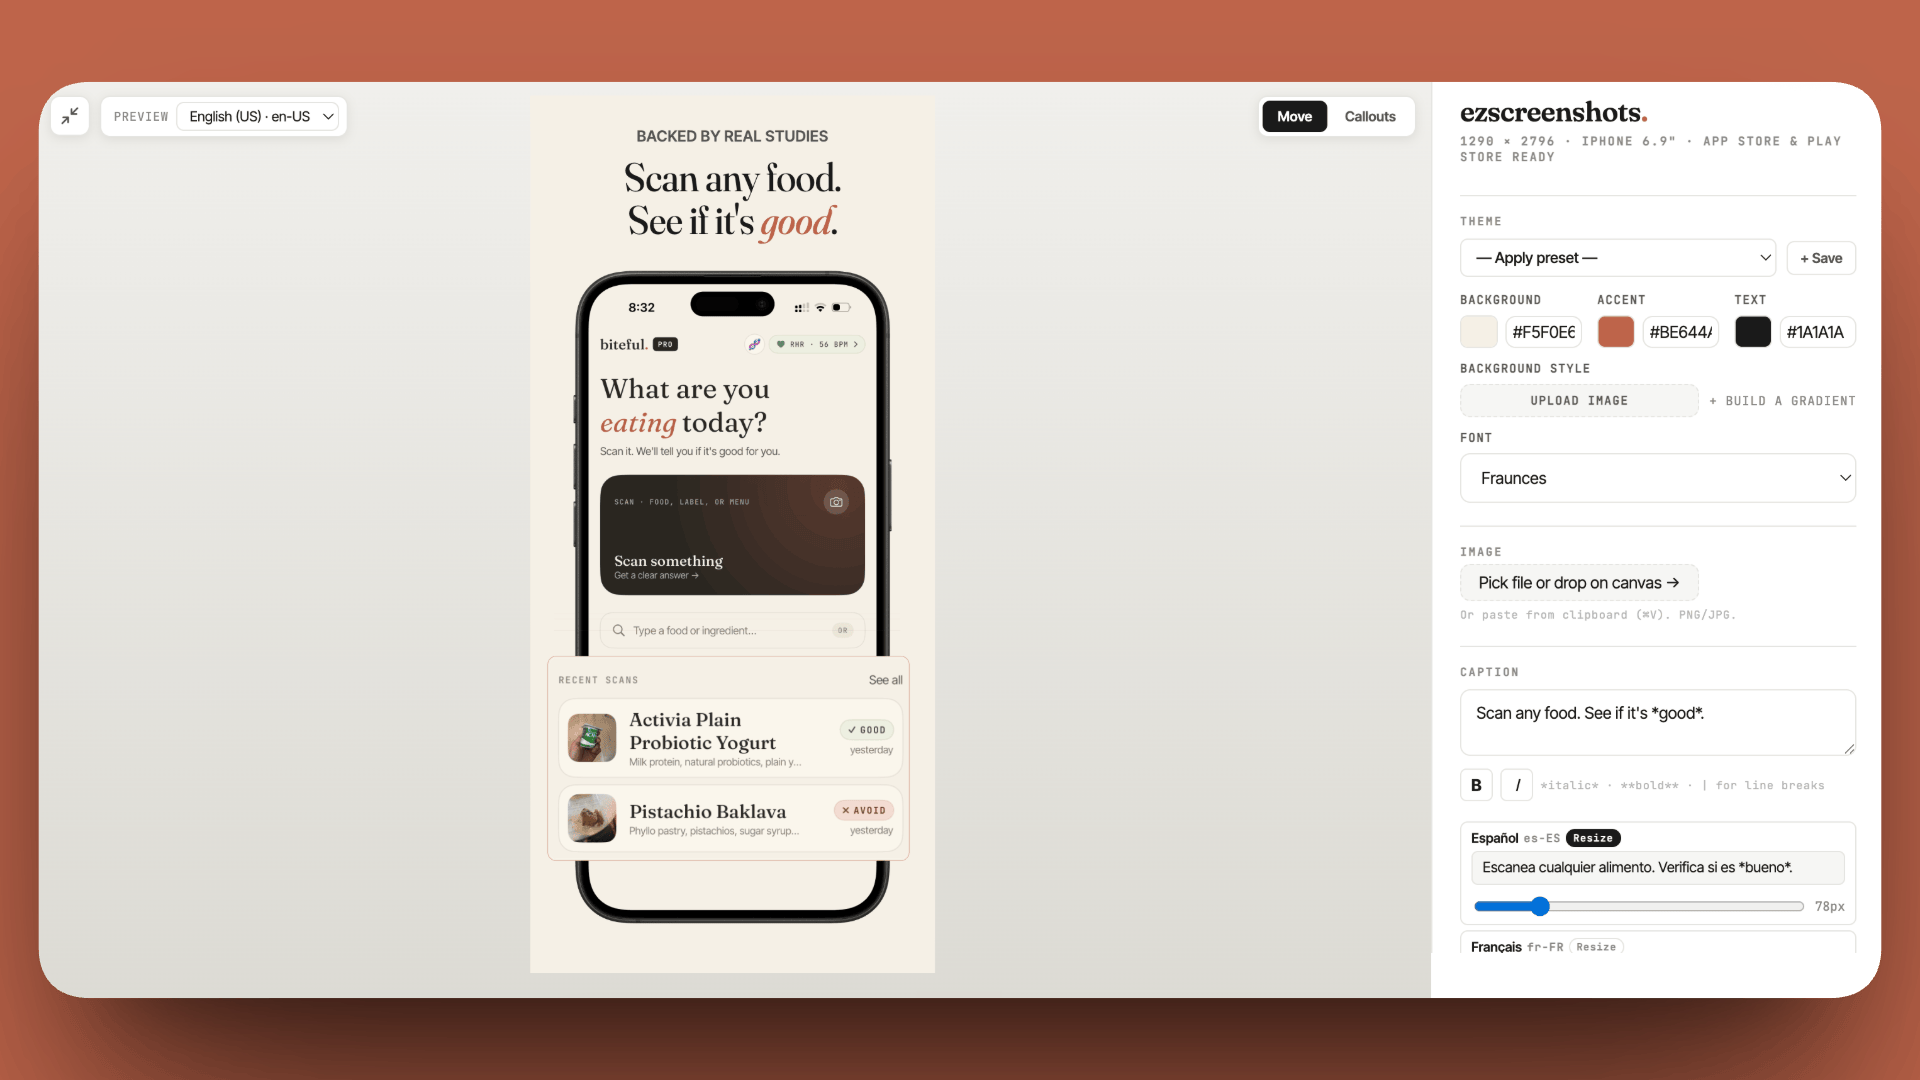
The screenshots and App Preview work together: the screenshot sets the expectation ("this app does X for me"), and the App Preview confirms it ("yes, it actually does X, here's proof"). When both are good, they compound. ezscreenshots handles the screenshot half — drop in your Simulator screenshot, write the outcome caption, export at the correct dimensions. The App Preview is 20 minutes in Simulator + QuickTime.
Get your screenshots right before adding the video
App Preview lifts conversion — but only on top of screenshots that already convert. Fix the first screenshot caption first: outcome language, top-third placement, correct dimensions for every device. Free, no account needed.
Try ezscreenshots →Summary
- App Preview autoplays silently in search results — it communicates before the user taps through, making it more powerful than any screenshot
- Conversion lift is consistent — apps with a well-made App Preview convert at higher rates than apps with screenshots alone across most categories
- Apple's requirements: 15–30 seconds, device-specific resolution, must show actual app footage, no misleading content
- Raw beats polished: an unedited Simulator screen recording of the core user flow outperforms produced promo videos — authenticity triggers belief, production values trigger skepticism
- 20-minute process: plan the core flow → record in Simulator → trim in QuickTime → upload to App Store Connect → choose your poster frame
- Structure that works: 0–3s real content, 3–15s primary action, 15–25s result — end on the "aha moment"
- Skip it when: the app's value is invisible on screen, or when you don't yet have converting screenshots (fix those first)
- Sequence: screenshots → App Preview; the video amplifies a converting listing, it doesn't rescue a weak one