The short answer
iPad screenshots are only required if your app is marked as supporting iPadOS. That support is enabled by default in Xcode for new projects. If you've never touched the platform settings, your app currently claims iPad support — and App Store Connect will reject your submission without iPad screenshots.
You have two options: opt out of iPad (remove the platform, no iPad screenshots needed) or add iPad screenshots (keep the platform, provide the assets). This post explains both, and which one to pick.
Why App Store Connect shows iPad screenshot fields even for "iPhone apps"
When you create a new iOS project in Xcode, it targets both iPhone and iPad by default — the "Supports iPad" checkbox is on. App Store Connect reads your build's declared supported destinations and shows screenshot upload fields for every platform your build claims to support.
So even if you never opened your app on an iPad, your build is telling Apple "this app runs on iPad," and Apple is rightfully asking for screenshots to show iPad users.
Option 1: Remove iPad support in Xcode
If your app genuinely isn't designed for iPad and you don't want to deal with iPad screenshots, removing the platform is the cleanest solution.
In Xcode:
- Select your project in the Project Navigator
- Select your app target
- Go to General → Deployment Info
- Under Supported Destinations, remove iPad (click the minus button next to it)
- Push a new build to App Store Connect
After this, App Store Connect will no longer require or even show iPad screenshot fields for that build. iPhone-only, no questions asked.
What happens to iPad users?
iPad users can still find and download iPhone-only apps — they're available in the App Store on iPad. They run in a scaled-up iPhone window with black letterbox bars around them. It's not a great experience, but it's not blocked.
One edge case worth knowing: Apple reviewers sometimes test apps on iPad even when they're submitted as iPhone-only. If your app crashes or behaves badly in the scaled iPhone window on an iPad Simulator, you can get rejected for that. Worth a quick sanity check on an iPad Simulator before submitting.
Option 2: Keep iPad support and add screenshots
If you want iPad users to have a clean native experience — or if your app's layout actually adapts reasonably to larger screens — keeping iPad support and providing screenshots is the better long-term play.
Apple requires one iPad screenshot size: 13" (2064 × 2752 pixels). Everything else auto-scales from it. You don't need separate 11" or 12.9" iPad sets. Full dimensions are in Apple's official screenshot specifications — see the full size guide for a plain-English summary.
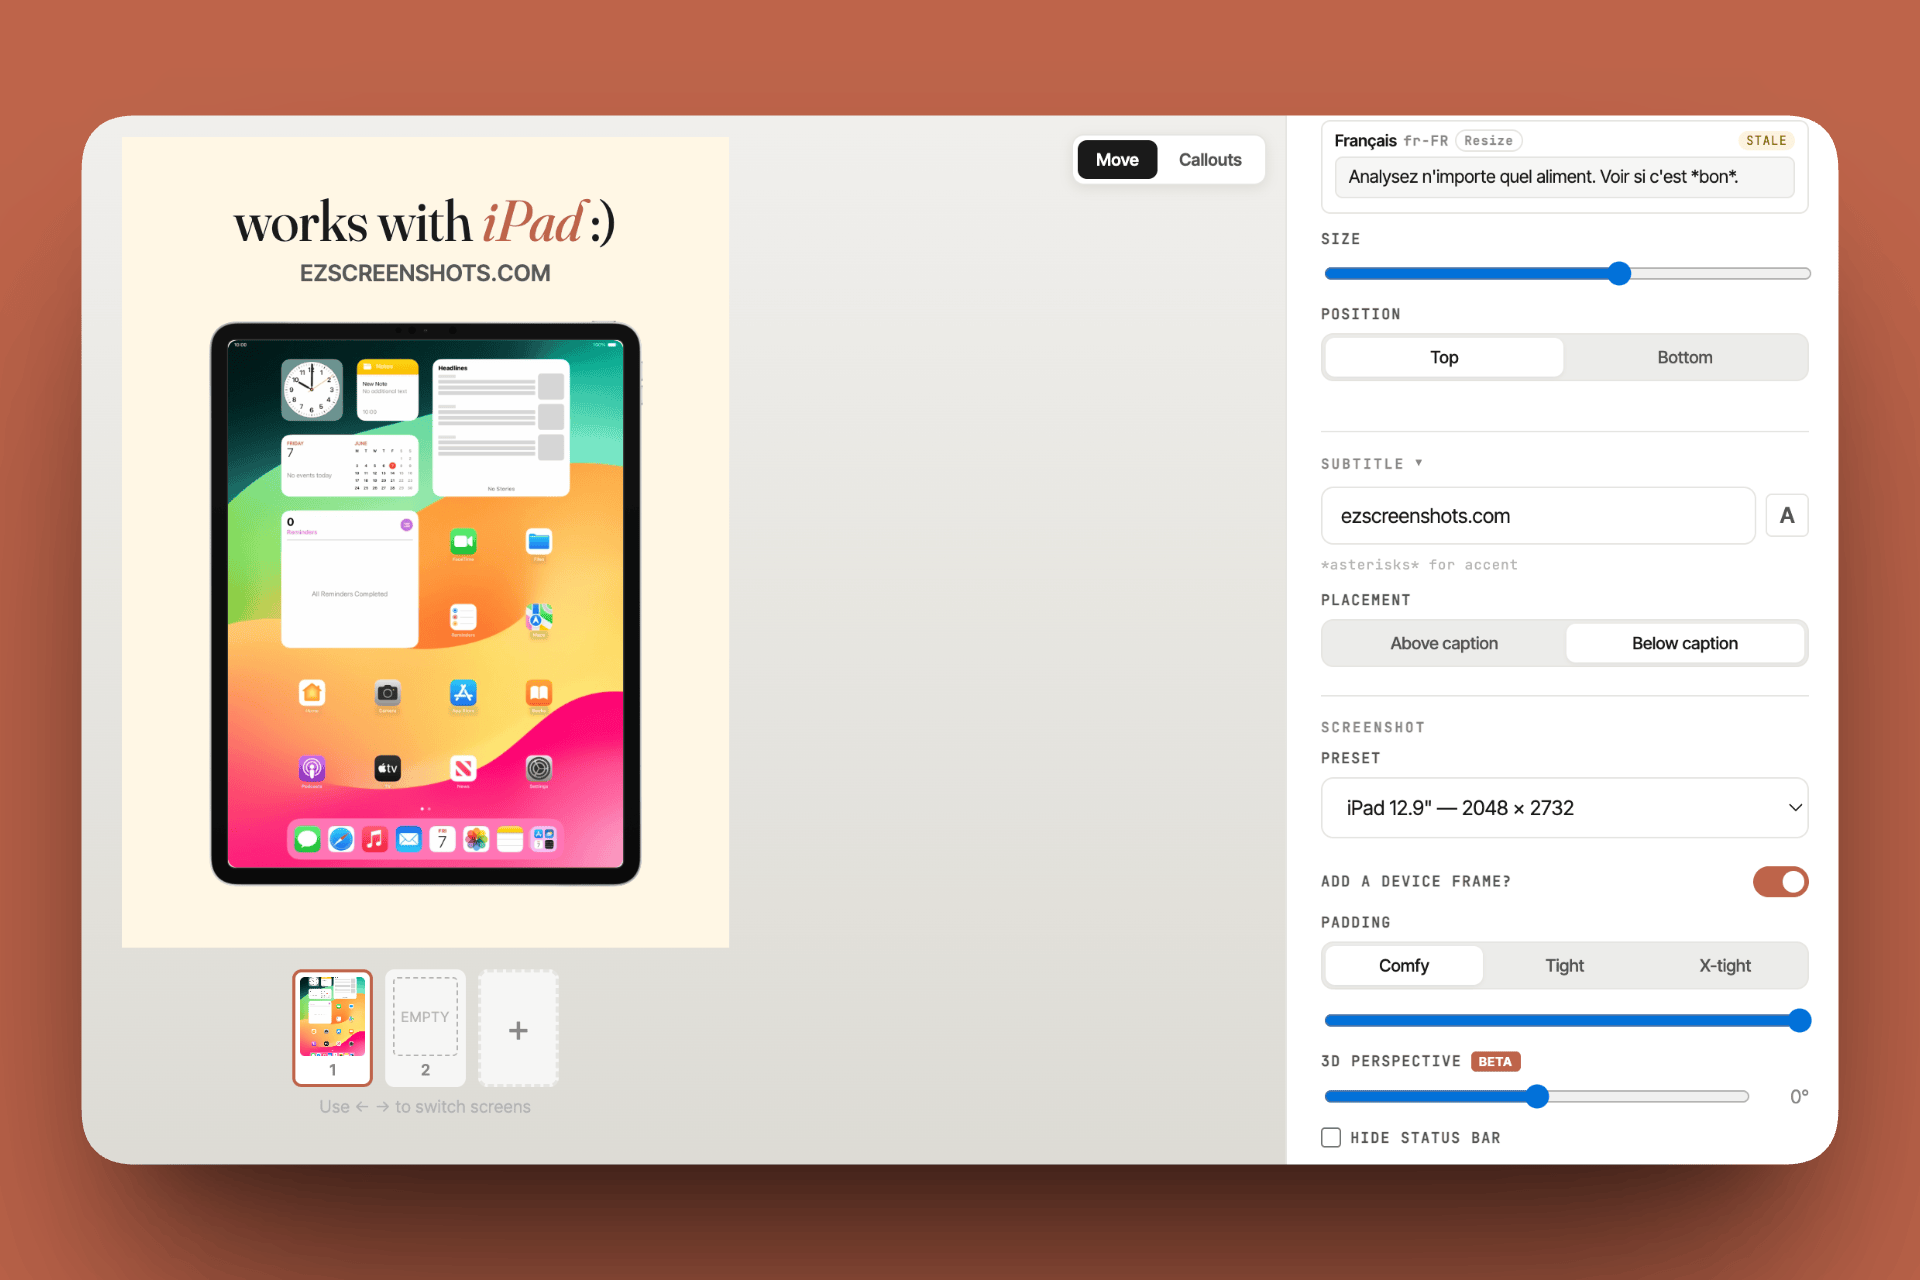
Making iPad screenshots quickly: ezscreenshots has an iPad preset built in. Switch the canvas size from your iPhone preset to iPad 13", and your existing theme — background, fonts, captions — carries over. Re-export. That's usually under five minutes for a basic iPad set.
Which option should you pick?
| Situation | Recommendation |
|---|---|
| App is genuinely iPhone-only (no adaptive layout) | Remove iPad support. Cleaner user experience — iPad users won't see a stretched iPhone UI. |
| App uses auto-layout and looks acceptable on iPad | Keep iPad support and add screenshots. Wider reach, and the investment is small. |
| You're in a hurry and just want to ship | Remove iPad support. Fastest path to approval. Add iPad later if you see demand. |
| Your category has meaningful iPad usage (productivity, reference, utilities) | Keep iPad support. iPad users in these categories are high-intent buyers. |
When in doubt: remove iPad support for v1, ship, then add it in a follow-up update once you've validated the core iPhone experience. Don't let iPad screenshots block your launch.
Apple Watch screenshots
Same rule applies for Apple Watch: screenshots are only required if your build includes a watchOS target. If you don't have a watch app, the Watch fields in App Store Connect either won't appear or can be safely ignored. If you do have a watchOS extension, you need at least one screenshot at 422 × 514 (Ultra 3). More detail in the App Store screenshot sizes guide.
Making iPad screenshots fast
If you decide to add iPad support, here's the fastest path to a complete iPad screenshot set:
- Take a raw iPad screenshot from Simulator. Set the Simulator to iPad Pro 13" and capture your key screens. Or use your existing iPhone screenshots — the marketing overlay is often device-agnostic.
- Open your iPhone project in ezscreenshots. Your iPhone screenshots are already designed.
- Switch to iPad 13" preset. The canvas resizes; your theme stays.
- Swap in the iPad raw screenshots (if your UI looks different on iPad) or keep the iPhone ones (if the marketing layer is the same).
- Export. You have your iPad set.
For most marketing-style screenshots — background + caption + device mockup — the iPhone and iPad versions are nearly identical. The only real difference is the canvas aspect ratio. Switching presets and re-exporting takes minutes, not hours. For the details on adding a device frame and getting caption placement right, see our guide on iPhone mockup screenshots.
iPad screenshots in minutes
Switch to the iPad preset, keep your theme, export. ezscreenshots handles every required Apple and Android size — no pixel math, no separate tools.
Try it free →Summary
- iPad screenshots are required only if your build supports iPadOS — which it does by default in new Xcode projects
- To opt out: remove iPad from Supported Destinations in Xcode, push a new build — App Store Connect will no longer ask for iPad screenshots
- To opt in: provide one screenshot at 13" (2064 × 2752) — Apple auto-scales all smaller iPad sizes from it
- Fast path: switch to iPad preset in your screenshot tool, re-export your existing design — usually under 5 minutes
- When in doubt: remove iPad for v1 and add it later once your iPhone app is stable