Before you start: what you need in place
Three things have to exist before you can submit anything to the App Store:
- An Apple Developer Program membership ($99/year). Enroll at developer.apple.com/programs/enroll. Allow 24–48 hours for approval on new accounts — Apple verifies identity. You cannot submit to the App Store without this.
- A finished, tested binary. Your app must be code-signed with a distribution certificate and built as a release build. You'll upload via Xcode's Organizer or Transporter.
- Your banking and tax information on file in App Store Connect. Even for free apps, Apple requires an active paid agreement. Go to App Store Connect → Agreements, Tax, and Banking and complete your profile. Missing this is one of the most common reasons a new developer's first submission stalls — it looks like everything is ready, but payments are blocked.
Step 1: Create your app record in App Store Connect
Log in to appstoreconnect.apple.com → My Apps → the + button → New App.
You'll need to fill in:
- Platform: iOS (or macOS, tvOS)
- Name: your app's display name, up to 30 characters. This is what appears on the App Store — not necessarily your Xcode project name. It can't be changed after submission without going through review again.
- Primary language: the default locale for your listing
- Bundle ID: must match exactly what's in your Xcode project (e.g.
com.yourname.yourapp). Create this in the Apple Developer portal first under Identifiers if it doesn't exist yet. - SKU: an internal identifier for Apple's reporting — any alphanumeric string, users never see it
Step 2: Fill in your App Store listing metadata
Once the app record exists, click into the App Store tab. This is where your listing lives.
Name and subtitle
Your app name (set at creation, 30 chars) and subtitle (30 chars, indexed for search). The subtitle appears below your app name in search results and on the product page. Both are keyword-indexed — they're the highest-weight keyword fields Apple uses for search ranking. Put your most important search terms here, not marketing language. See the App Store keywords guide for strategy on what to put here vs the keyword field.
Promotional text
170 characters, shown above the description. Uniquely, this can be changed at any time without submitting a new binary for review — so you can update it for seasonal campaigns or test messaging without going through review. It is not keyword-indexed.
Description
Up to 4,000 characters. Apple does not index this for App Store Search (only Google Play indexes the description). It's read by users who are already interested enough to expand it — write for conversion, not keywords. The first 3 lines are visible without tapping "more", so lead with the strongest value statement.
Keywords field
100 characters, comma-separated, not visible to users. These are indexed for search. Rules: no spaces between keywords (commas only), no repeating words already in your name or subtitle, no competitor names. Spend this 100 characters on terms not already covered by your name and subtitle.
Category
Primary and optional secondary category. Choose carefully — category affects which charts your app appears in and which competitors you're ranked against. If you're a productivity app that also has social features, pick the category where you have the best chance of ranking, not the most accurate one.
Support URL and Marketing URL
Support URL is required and must be a working URL at submission time. Apple occasionally checks it. A dedicated support page or even a contact form page on your website works. Marketing URL is optional — link to your landing page if you have one.
Age rating
Complete the content questionnaire. Be accurate — misrating your app (e.g., marking it 4+ when it has mature content) is a policy violation and can result in removal.
Step 3: Prepare and upload screenshots
Screenshots are the most conversion-critical part of your listing — they're what users see in search results before they tap through — and they're also the most common cause of submission delays when the wrong dimensions are uploaded.
Apple requires screenshots for the devices your app supports. The minimum required set is iPhone 6.9" (1320×2868px) — if you only upload one device size, Apple scales it for other iPhone sizes. For iPad apps, iPad screenshots are required separately.
| Device | Required dimensions | Notes |
|---|---|---|
| iPhone 6.9" (required) | 1320×2868px or 2868×1320px | Covers iPhone 16 Pro Max — used as fallback for all iPhone sizes if you only upload one set |
| iPhone 6.5" | 1242×2688px or 2688×1242px | Optional but recommended — used by iPhone 11 Pro Max, XS Max |
| iPad 13" Pro | 2064×2752px or 2752×2064px | Required if app runs on iPad |
| iPad 12.9" (older) | 2048×2732px or 2732×2048px | Required for older iPad Pro support |
For the complete dimensions table including 6.1", 5.5", and Apple Watch, see the App Store screenshot sizes guide.
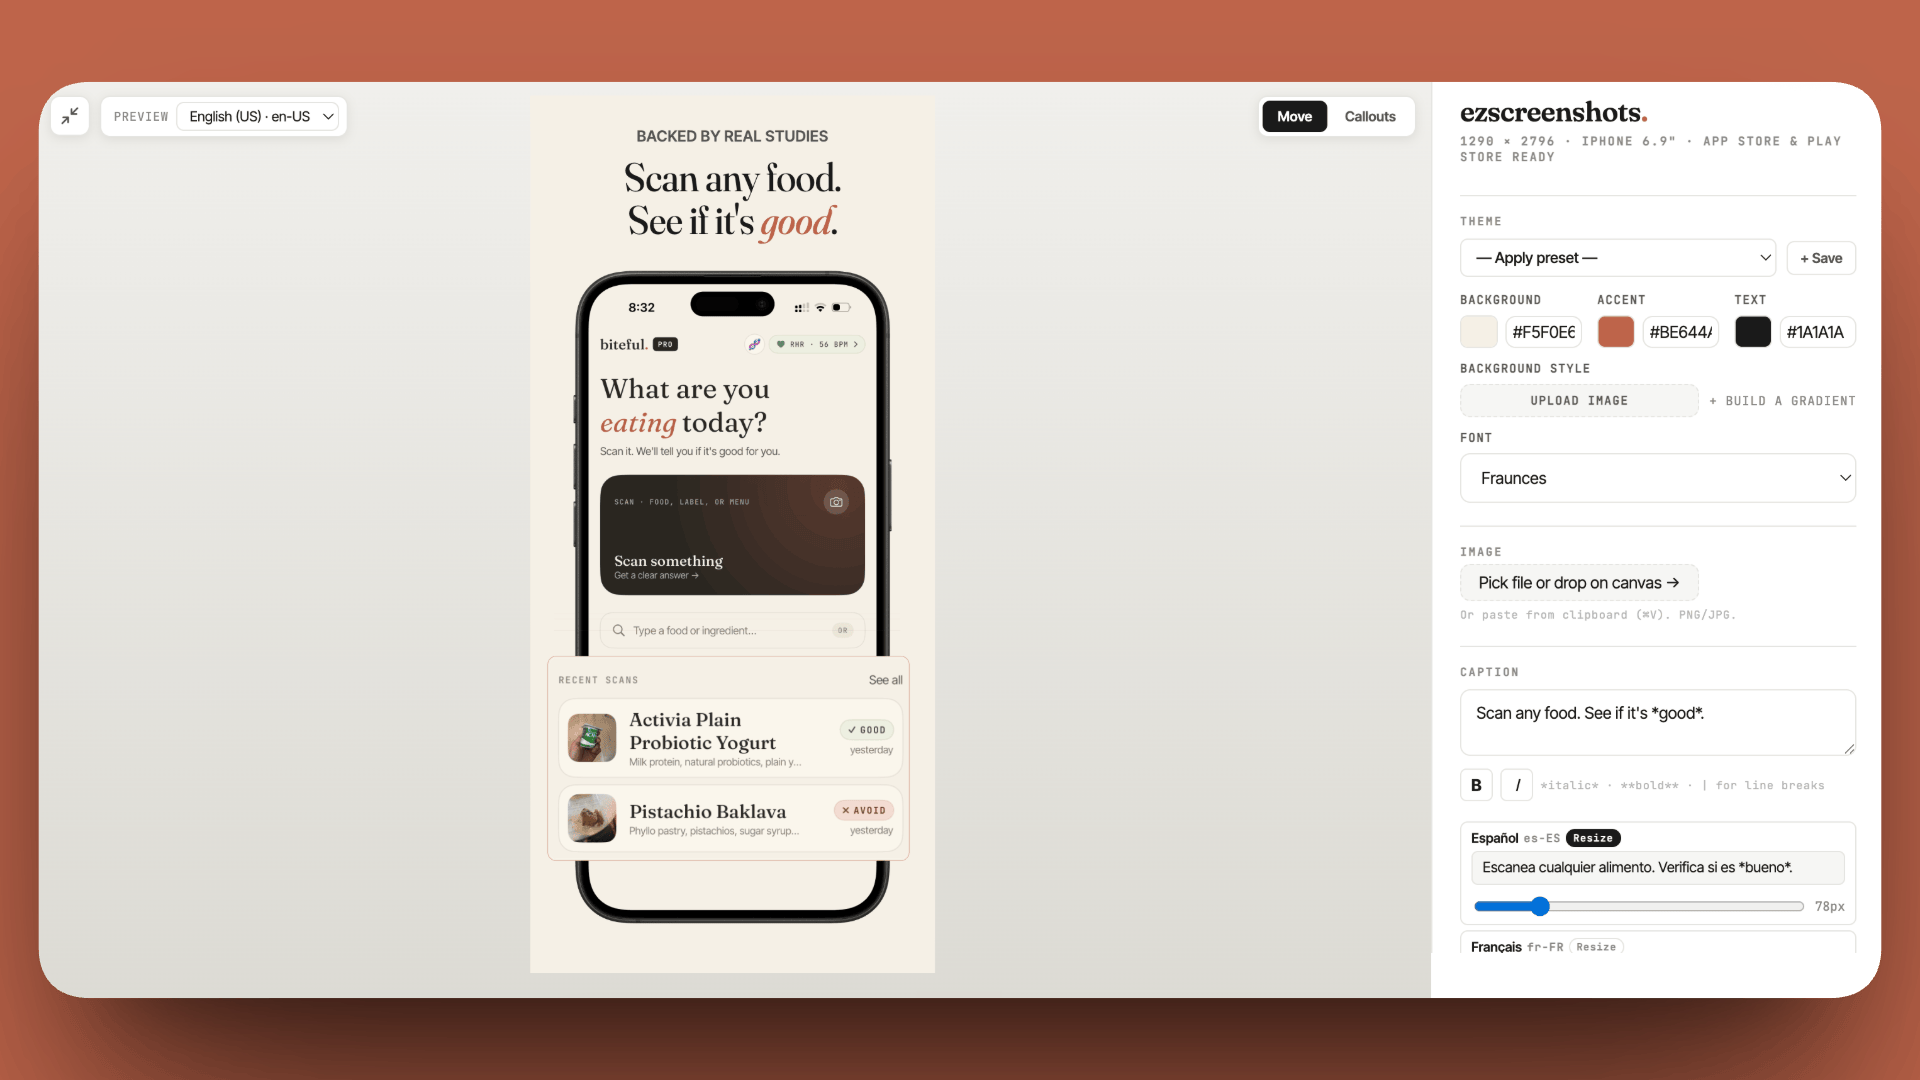
If your screenshots aren't ready, ezscreenshots exports at the exact dimensions App Store Connect expects — pick a device preset, drop in your Simulator screenshot, add a caption and background, export. The dimensions are pre-set per device so there's nothing to calculate.
Step 4: App Preview (optional but worth it)
App Previews are 15–30 second videos that autoplay in search results on supported devices. They appear before your screenshots. If you have one, upload it; if not, skip it and come back later — you don't need a preview to submit. For the full spec and advice on whether to bother, see the App Preview guide.
Step 5: Set pricing and availability
In the Pricing and Availability section:
- Price: free, or a tier from Apple's price schedule. Price tiers are fixed — you don't set an exact dollar amount, you pick a tier (Tier 1 = $0.99, Tier 2 = $1.99, etc.). If you're using in-app purchases, set the app itself as free here.
- Availability: which countries to release in. Default is all territories. You can exclude specific regions if needed (e.g., you're not compliant with a particular country's data regulations yet).
- Pre-orders: optional. You can make your app available for pre-order before the release date, which lets you collect installs and reviews before launch day.
Step 6: Upload your binary
In Xcode: Product → Archive. Once the archive is created, the Organizer window opens. Click Distribute App → App Store Connect → Upload. Xcode handles code signing if you've set it up correctly (automatic signing is simplest for first submissions).
After upload, the binary appears in App Store Connect under your app's TestFlight tab, then under the App Store tab once Apple's automated checks pass (usually 5–15 minutes). You then select the build to submit with your listing.
NSUserTrackingUsageDescription if you're using ATT, deprecated API usage, or a mismatched version number between what's in Xcode and what you entered in App Store Connect. Xcode will flag most of these during the upload process.
Step 7: App Review information
Before submitting, fill in the App Review information section:
- Sign-in required: if your app requires an account to use, provide a demo account with working credentials. Review rejections for "unable to test" are common when this is missing.
- Notes for reviewer: anything the reviewer needs to know to test the app correctly — where to find a specific feature, why a permission is needed, or context for a non-obvious UI flow. Keep it brief and factual.
- Contact information: a phone number and email Apple can use if they have questions. This is rarely used but required.
Step 8: Submit for review
Once your build is selected and all metadata is complete, the Submit for Review button becomes available. Click it. You'll be asked to confirm a few final details (advertising identifier usage, export compliance for encryption).
After submission your app enters the review queue. As of 2026, review typically completes within 24–48 hours for most apps. Complex apps or those with new permissions may take longer. You'll receive an email when the status changes. Track status in App Store Connect or via the developer portal.
For a realistic sense of current review times, see our post on App Store review time in 2026.
If your app gets rejected
Rejection arrives via the Resolution Center in App Store Connect with a specific guideline cited. Common first-submission rejections:
- Guideline 2.3.3 — screenshots don't accurately represent the app (showing UI that doesn't exist, or staging data that implies features not yet built)
- Guideline 4.0 — minimum functionality (Apple expects apps to provide a useful service beyond what a mobile website could offer)
- Guideline 5.1.1 — data collection without a clear privacy policy URL
- Login required without a guest option — apps that require account creation before showing any value are frequently rejected under 5.1.1
Respond via the Resolution Center, fix the issue, and resubmit the same build (or a new one if code changes are needed). Resubmission goes back into the review queue. For the full list of rejection patterns, see our post on every reason Apple rejected our app.
The submission checklist in one place
- Apple Developer Program membership active ($99/year)
- Banking and tax information complete in App Store Connect
- App record created with correct Bundle ID
- App name (30 chars) and subtitle (30 chars) — lead with search keywords
- Promotional text (170 chars, not indexed)
- Description (4,000 chars max, leads with strongest value statement)
- Keywords field (100 chars, comma-separated, no repeats from name/subtitle)
- Screenshots at correct dimensions — minimum iPhone 6.9" required
- App category selected
- Support URL live and working
- Age rating questionnaire complete
- Price and availability set
- Binary uploaded via Xcode Organizer, passing automated checks
- Demo account credentials provided (if app requires login)
- Notes for reviewer filled in (brief, factual)
- Submit for review
Get your screenshots submission-ready in 15 minutes
ezscreenshots exports at the exact pixel dimensions App Store Connect requires — iPhone 6.9", 6.5", iPad, and more. Drop in your Simulator screenshot, add a caption, export. No Figma, no resizing. Free, no account needed.
Try ezscreenshots →Summary
- Before you start: Apple Developer Program ($99/yr), banking/tax info in App Store Connect, finished binary
- Metadata that matters for search: app name + subtitle (30 chars each, keyword-indexed) and the keyword field (100 chars, no repeats) — description is not indexed on iOS
- Screenshots: iPhone 6.9" is the minimum required set; correct pixel dimensions per device class; upload in order of importance since screenshot 1 appears in search
- Binary upload: via Xcode Organizer → Distribute App → App Store Connect; automated checks run before it reaches review
- Review info: demo account credentials if login required; notes for reviewer for any non-obvious flows
- Review time: typically 24–48 hours; rejections arrive via Resolution Center with a specific guideline cited
- Most common first-submission rejections: 2.3.3 (screenshot accuracy), 4.0 (minimum functionality), 5.1.1 (privacy policy)